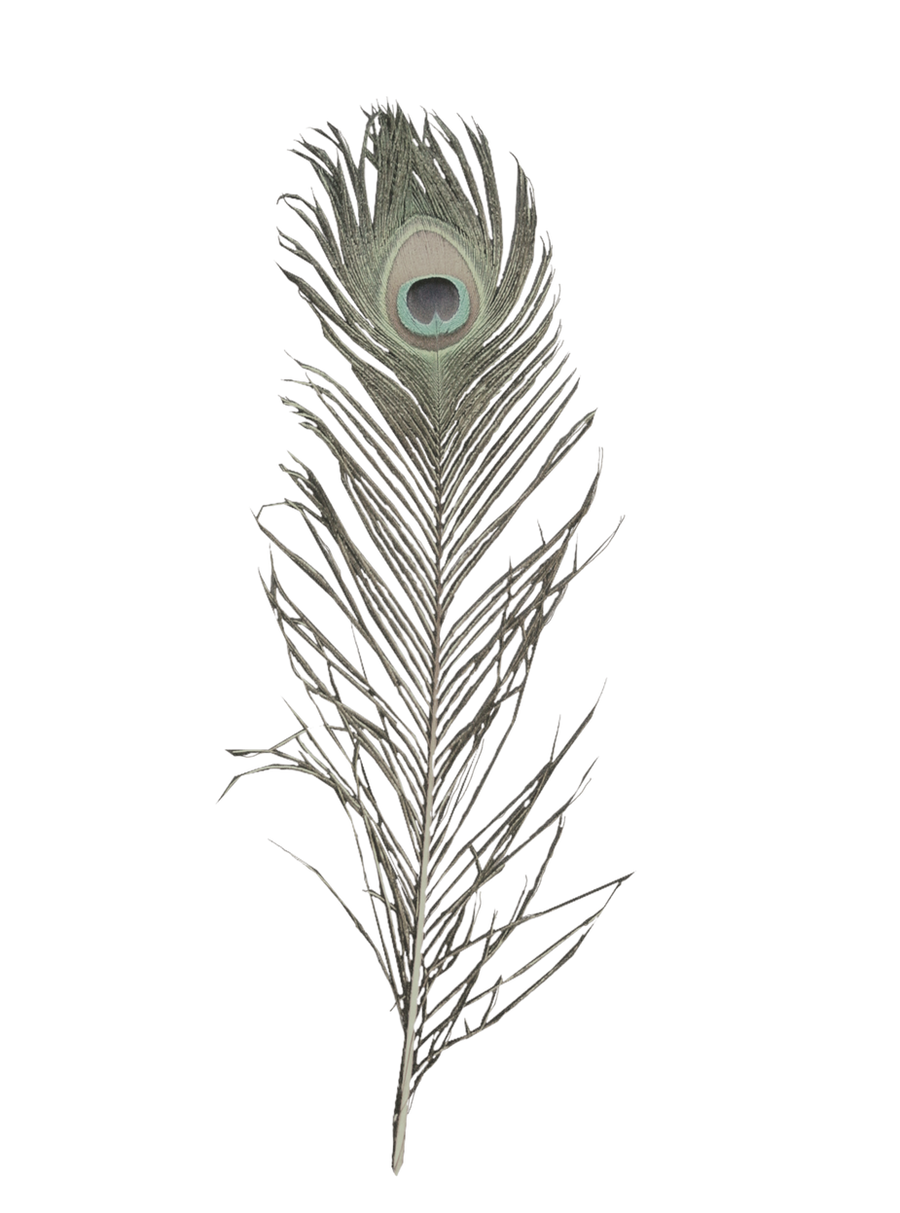
I am currently studying art education. Therefore, I made this tutorial as practice for myself in teaching others how to draw.
I hope as an artist you will be able to gain a bit from this tutorial. I've always had trouble with drawing feathers in art, most specifically of peacocks.
First, I suggest finding a stock image to look at. It is always better to keep looking at the subject rather than guessing from memory. (here is a good image)
Materials You Will Need: Paper, Tortillion (shader), and a pencil
The Steps: 1. Draw a very simplified balloon (see left image below)
2. Inside the actual balloon area create oval/circular designs similar to the design on a peacock's feather. The stock photo makes this part handy because every feather creates a different unique design.
Steps 1 and 2
3. Lightly color in the main part of the eye:(your area inside the balloon shape but outside of the ovals)
4. I made the main area of the eye on mine darker before blending.
5. If you have a shader you can use that to blend it all together, if not you can smudge with your finger. I blended all around the main area of my eye leaving some light around my small oval shapes.
6. Make the smallest part of the eye the darkest. Also leaving a bit of light inside it to give it a shiny, reflective feel.
7. Lightly color in the rest of the eye and blend for a desirable effect. Blend again.
8. The feathers appear more spaced out at the bottom and closer together as you make your way to the top. You can use the letter V as a layout for the feather.
9. To add feathers above the eye I actually go through the eye with my pencil from underneath it to try and keep some symmetry. Then I blend whatever lines noticeable inside the eye so they aren't visible anymore.
10. After the basic line art add a little more graphite to those feathers to make them thicker. (last photo on right)
steps 8-10
Last step: This is my final feather. I added more shading inside the eye and left more lighter to resemble light bouncing off the feather. You can really add to your piece and make it "pop."
I really hope you enjoyed this little tutorial and I plan on adding more soon. :)