


"Hair Fascinators (elaborate adornments for the hair) have been around since the 17th century. Ladies would wear fantastic ornaments such as ships in full sail or stuffed birds in mid-flight in their hair. Marie Antoinette is a good example as she was known throughout France for her elaborate hair fashion and even popularizing it during her time. Today hair fascinators are making a comeback and the most notable person worth mentioning that frequently wears them is Kate Middleton."
Supplies

-Hot Glue Gun
-Craft Feathers (can be found at Hobby Lobby)
- Hair clip (ex. alligator clips)
-Center Piece (I used a vintage earring)
-Backing for your fascinator (not shown)
The backing could be felt or whatever, just something sturdy to glue your feathers onto. I used some of my cross stitching material.
Step One:
1.  2.
2.
2.
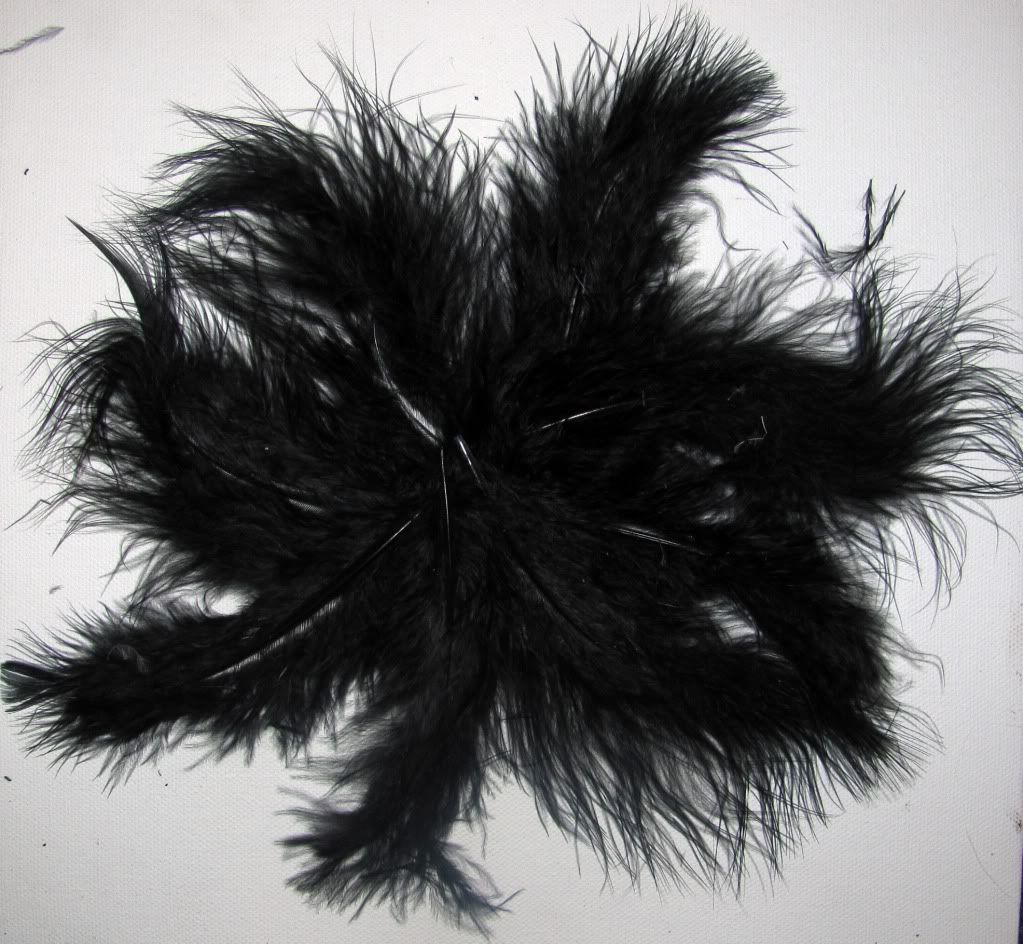
1. You will have to sort through your feathers to find good ones that you will be able to use. Most of my feathers's vanes were torn apart so I just tossed them in a pile because I wouldn't be using them for this project.
2. I sorted my feathers into three groups: Contour feathers, Semiplumes, and then the small Guinea feathers.
3.

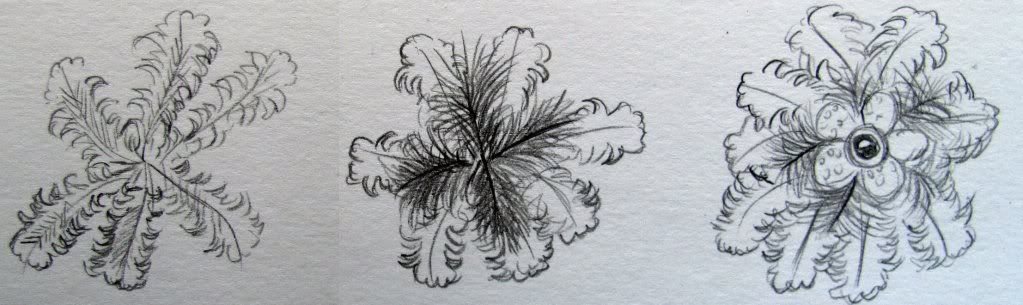
My sketch of a contour feather is on the left which is basically a feather you would recognize...it is the flight feathers on a bird. The semiplume on the right is a more feathery sort of feather.
Step Two:


Do not glue yet, just get a feel of what the base will look like for your fascinator so this will minimize any mess ups.
Take the contour feathers and place them as shown in the photo above on the left and right. If your feathers do not fit together very well because of different sizes...I would advise cutting the ends of the quills to shorten them.
Step Three:

At this time you should cut out you backing into a circle. My circle is 3" across. Then using your hot glue gun place the glue on the quill of a contour feather and place the feather onto your backing.
Step Four:

Keep gluing your feathers onto your backing until you have made your way all the way around. It start to look somewhat like a star. (DO NOT worry about how the middle looks because it will eventually be covered up with more feathers and your center piece.)
Step Five:
Now it is time to add your semiplume feathers to the fascinator. Placement isn't that critical, but you should take a look at your fascinator and find any areas that seem bare and place the semiplumes in those areas so that it will make an illusion that there are feathers everywhere.
Step Six:
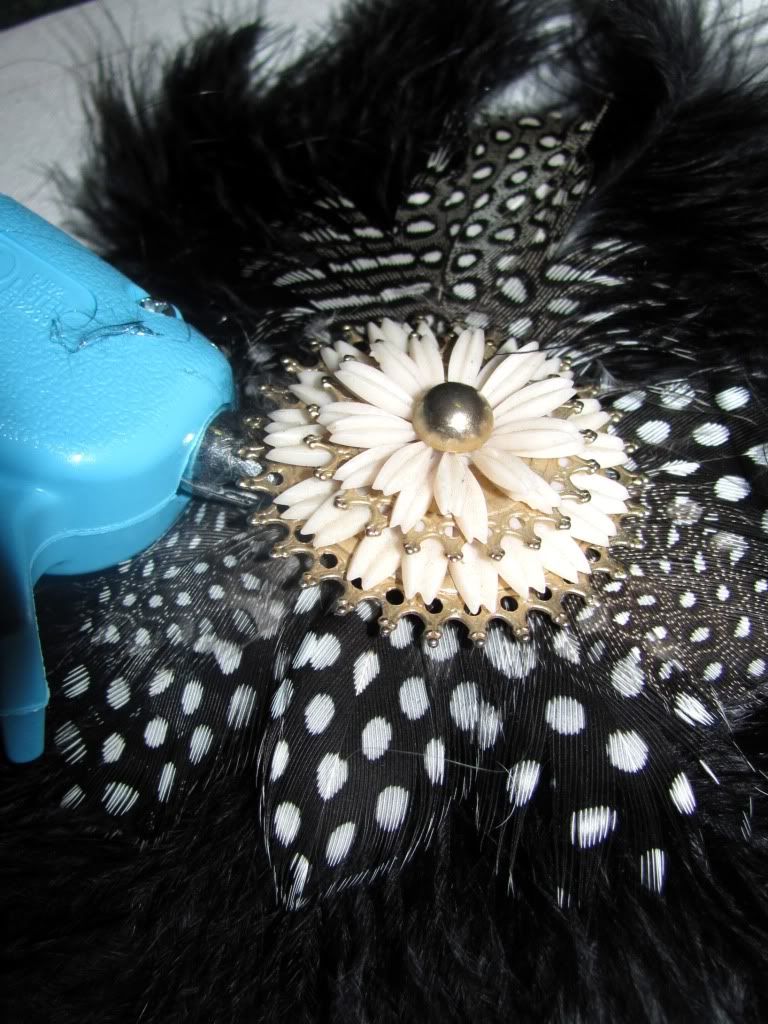
The main point about this tutorial is "layering."
From left to right this is how I layered my fascinator.
I first added the contour feathers as a base, then the semiplumes in bare areas, and finally I added my Guinea feathers on top of the semiplumes and placed my center piece in the middle of the whole thing covering all the weirdness you will see occurring in the middle area.
Step Seven:

To finish and wear your hair fascinator you will have to add a clip. I used an alligator clip and in which I put glue on top of the clip then held it open while placing it onto the back of my hair piece so it didn't glue itself shut. I held it for about 20 seconds or so and closed it.
Step Eight: SHOW IT OFF!
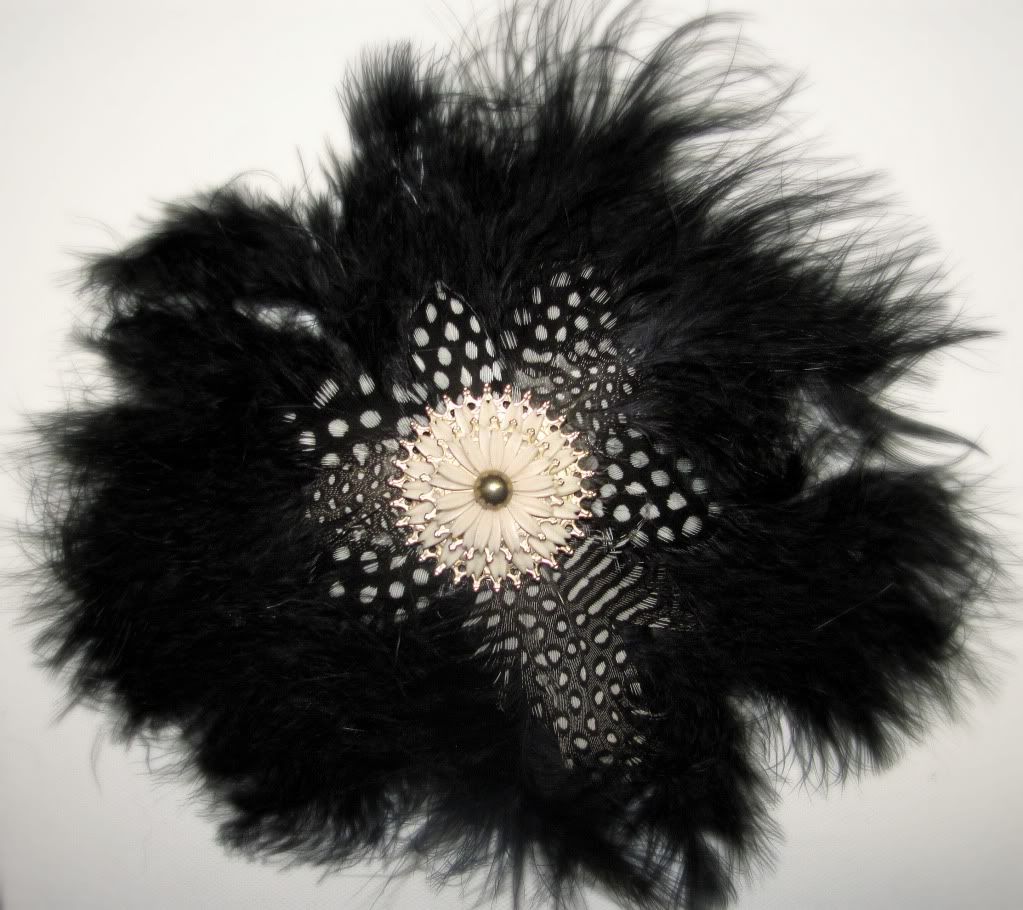
I enjoyed the way my hair piece turned out in the end and it is now one of my favorite hair pieces I own.
If you have any questions you can e-mail me or leave a comment. If you decide to make one please send me a photo of your creation and I will post it on here!
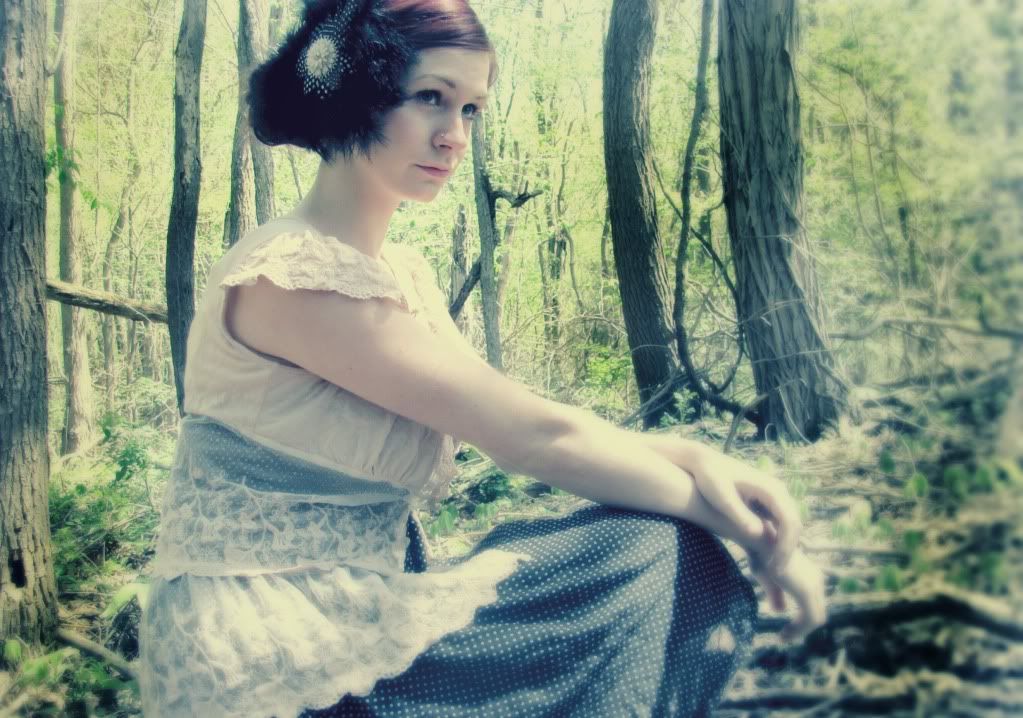
 |
| Erin made a beautiful fascinator |
15 comments:
This is so great and your illustration and portrait really add so much to it. : )
What a gorgeous tutorial,thanks a lot!!
that was wonderful to see. You did a beautiful job, functional artful beauty.
Great post. I discovered only recently what the word fascinator meant and, since then, have been obsessed with them. They're so beautiful and the perfect adornment for everyone's hair. I am thrilled to see your easy-to-follow instructions. Thanks!
So jealous of your craft skills! This is fabulous :) & I love your sketch as well, so pretty :D
very pretty. great diy!
∆ blog
∆ twitter
∆ ENTER MY GIVEAWAY!
It came out beautifully!!! I bought some bits to make a fascinator the other day, they look great fun to make!
xxxxxxxxx
Love all of this feathery goodness!!!! You look smashing in your fascinator for sure {you were made for royalty!} Great tutorial!
xx Cat brideblu
no wonder it's in your fave arsenal, i'd be pulling it out daily. so lovely what you created, a girl of many facets...i love it! cheers to a wondrous weekend. ♥
you look gorgeous wearing your fascinator! thanks for the lesson.
Gorgeous fascinator and very helpful tutorial, thanks for posting. Guess it's me off to the crafts store tomorrow. ;-)
This is gorgeous! Thanks for sharing :D
i think my behind needs to go to hobby lobby. the final photo of you in the woods is gorgeous!
http://honeybeelane.blogspot.com/
Great tutorial. love it, thanks for sharing
That was so beautiful, I'm gonna try this for sure. Thanks for sharing.
Rabbit Breeders
Post a Comment